We are already underway for the second annual Classic Rods Car show benefiting the American Heart Association. This is a non-profit event with all proceeds going to the AHA. It will be held at the Nugget in Sparks Nevada on June 25th 2011 from 4pm till 8pm. We will be having Elektric Rodeo, Little Sister and Blue Haven playing music, food from award winning Kinder's BBQ and of course great classic cars.
Thursday, September 30, 2010
Wednesday, September 1, 2010
Master Cylinder
So I posted below how I installed the master cylinder push rod but not the master cylinder itself. The original brake line plumbing has the front 2 brake lines and the rear brake line coming into a common 4 way fitting. This then plumbed into the master cylinder.
The new master cylinder has only two bolts holding it on. You need to make sure you replace the other bolts onto the firewall since these hold the brake pedal in place. The master cylinder I bought came with the portioning valves built in with the added option that if/when I move the rears to disc that I just move the brake line to the upper port. You can look below to see how the ports are setup.
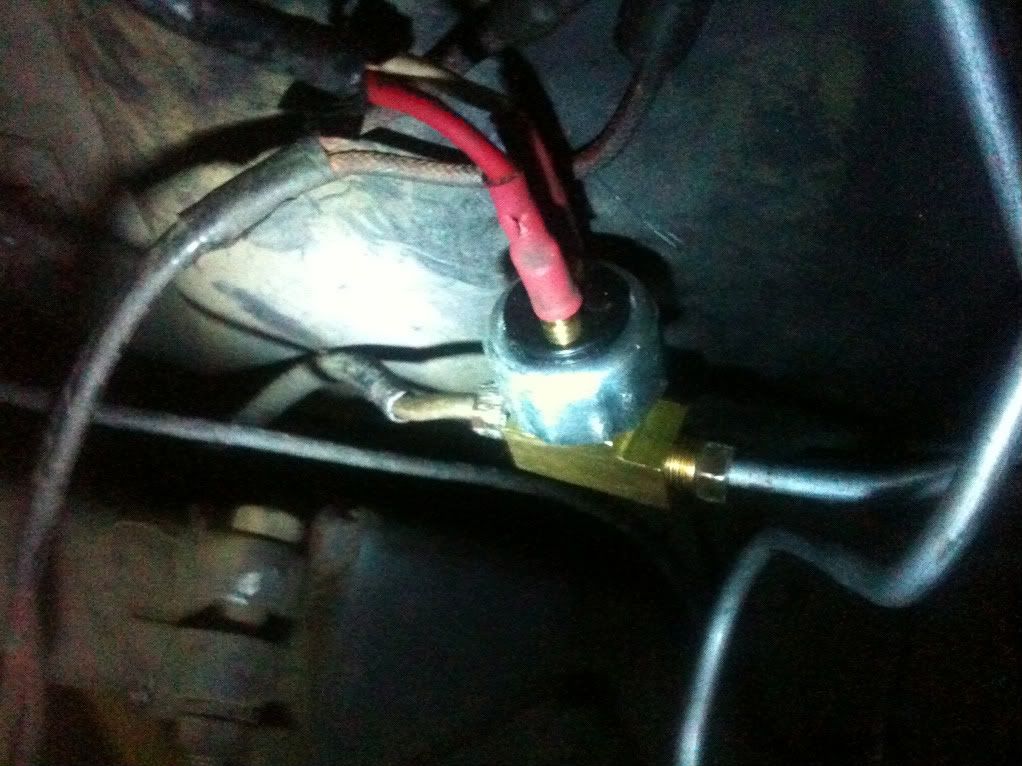
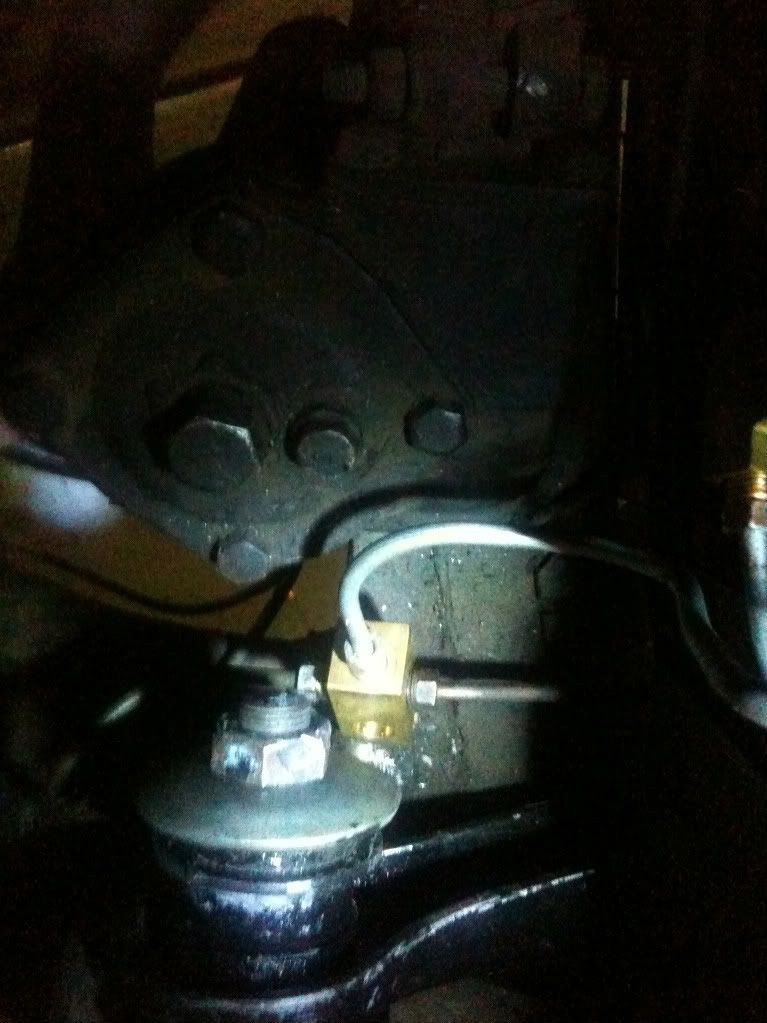
I ran the rear line into a T fitting that has the brake light switch. I added the brake light switch to the rear line since the portioning valve gives pressure to the rear first.This fitting was a real pain for me to find locally. I had to go to my local Clutch/Brake shop to get these since places like Summit Racing didn't carry them.
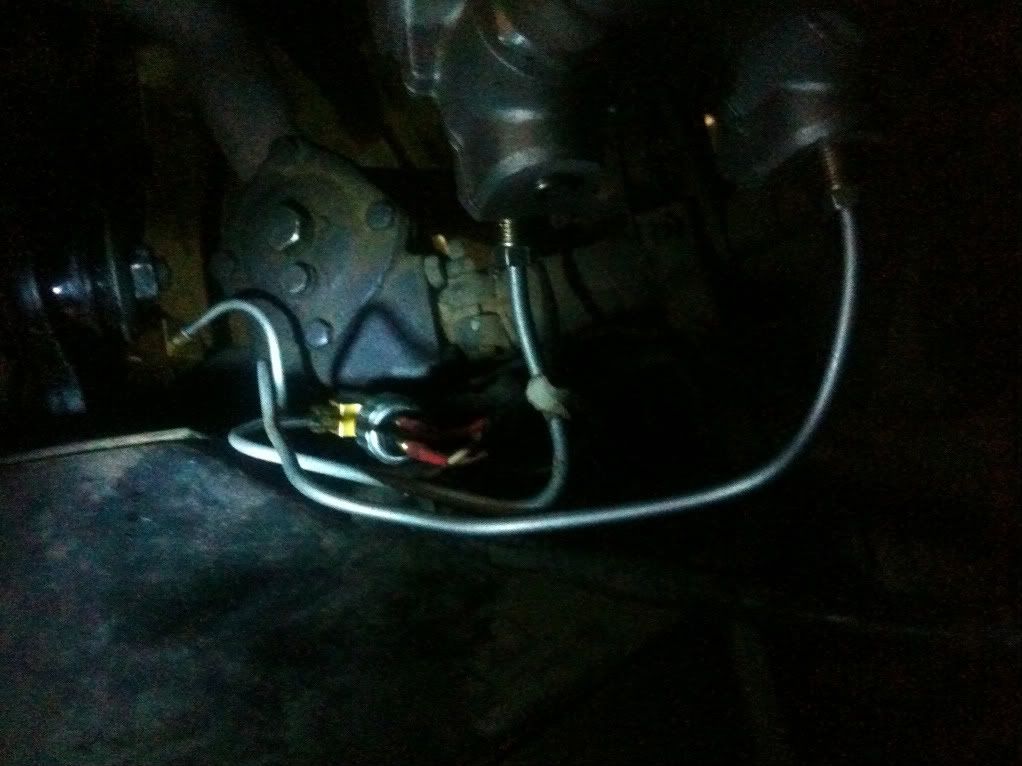
The fronts just used a basic T fitting that I was able to pick up at Summit Racing.
Once everything was plumbed up except connecting it to the master cylinder I then filled up the master cylinder with fluid, let it sit for 15 minutes then bench bled it. After I installed it on the firewall I connected up the two brake lines and then starting checking for leaks. My passenger side brake line where it attaches to the flexible brake line that then goes into the brake caliper leaked badly. I ended up having to replace this entire line. It was a very easy and straight forward install. It is only attached to the car on the cross-member that runs underneath the engine.
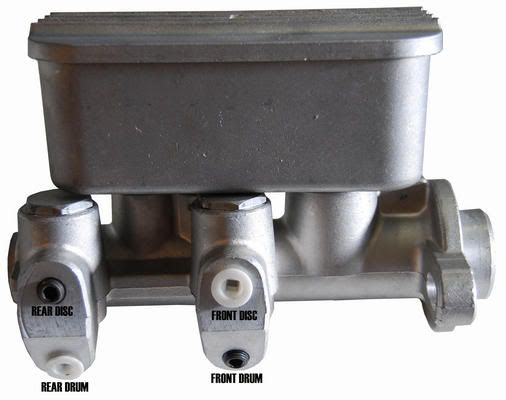
The new master cylinder has only two bolts holding it on. You need to make sure you replace the other bolts onto the firewall since these hold the brake pedal in place. The master cylinder I bought came with the portioning valves built in with the added option that if/when I move the rears to disc that I just move the brake line to the upper port. You can look below to see how the ports are setup.
I ran the rear line into a T fitting that has the brake light switch. I added the brake light switch to the rear line since the portioning valve gives pressure to the rear first.This fitting was a real pain for me to find locally. I had to go to my local Clutch/Brake shop to get these since places like Summit Racing didn't carry them.
The fronts just used a basic T fitting that I was able to pick up at Summit Racing.
Once everything was plumbed up except connecting it to the master cylinder I then filled up the master cylinder with fluid, let it sit for 15 minutes then bench bled it. After I installed it on the firewall I connected up the two brake lines and then starting checking for leaks. My passenger side brake line where it attaches to the flexible brake line that then goes into the brake caliper leaked badly. I ended up having to replace this entire line. It was a very easy and straight forward install. It is only attached to the car on the cross-member that runs underneath the engine.
Subscribe to:
Posts (Atom)